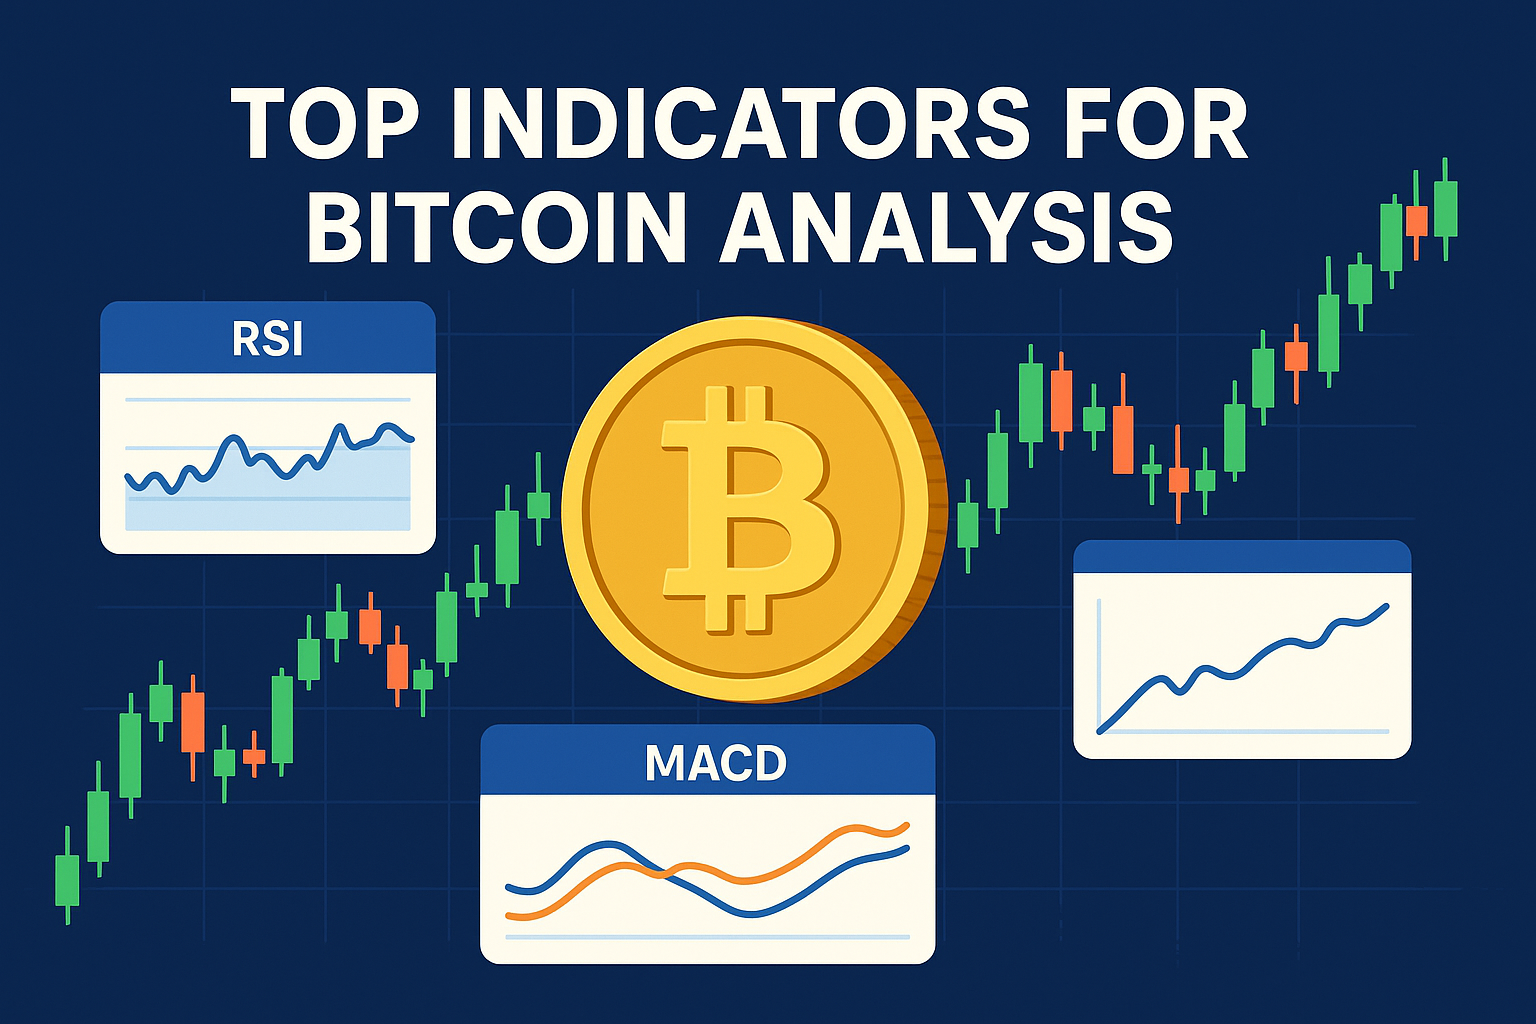
Bitcoin trades 24/7, spans multiple venues, and whipsaws around macro news and funding flows. You don’t need 10 indicators—you need a lean, testable stack that covers: trend, momentum, volatility, levels/flow, and execution anchors. This guide explains the best‑in‑class tools for each bucket, starter settings, and rule‑based playbooks you can backtest in TradingView or your platform of choice.
Related reading on Indicators101:
- How to Build & Backtest a Strategy in TradingView
- How to Trade Breakouts in Crypto Markets
- Risk Management 101: Position Sizing for Forex & Crypto
- Identifying False Breakouts: Tips to Avoid Traps
Promise: By the end, you’ll have a minimal BTC indicator suite, ready‑made rules, and risk tips to keep you consistent—manual or algorithmic.
The Lean BTC Indicator Suite (5 Buckets)
- Trend: 50/200 EMA (or SMA on higher timeframes)
- Momentum: RSI(14) or MACD(12/26/9) (pick one to start)
- Volatility: ATR(14) and/or Bollinger Bands(20,2)
- Levels & Flow: Anchored VWAP (AVWAP), High/Low (prior day/week), and simple tick/exchange volume
- Execution Anchors: Session markers (Asia/EU/US), ADR/ATR projections for realistic targets
Keep it to one per bucket at first. Add only if backtests show out‑of‑sample improvement.
Indicator 1: 50/200 EMA — Regime & Bias
What it tells you: Direction and quality of the current regime.
Rules:
- Bull bias: Price above 200 EMA and 50 EMA > 200 EMA.
- Bear bias: Price below 200 EMA and 50 EMA < 200>
- No‑trade/Reduced size: Price churning around the 200 EMA with flat slope.
Use cases:
- Filter for long‑only or short‑only strategies.
- Trail swing positions by the 20/50 EMA on higher timeframes (H4/D1).
Indicator 2: RSI(14) — Momentum & Pullback Timing
Why RSI for BTC: Crypto trends can run; the 50‑level re‑cross times pullbacks better than classic 70/30 signals.
Starter rules (H1–D1):
- In bull bias, buy when RSI dips to 40–50 and closes back above 50.
- In bear bias, short on re‑cross below 50 after an RSI bounce to 50–60.
- Divergences near key levels = early warning—tighten trails, avoid fresh entries.
Exit idea: Take 50% at +1.5R, move stop to breakeven, then trail by 1.5× ATR.
Indicator 3: MACD(12/26/9) — Breakout Confirmation
Why MACD for BTC: Zero‑line confirms trend acceleration; helps filter weak range pokes.
Starter rules (M15–H4):
- Trade range or base breakouts only when MACD line is above zero (long) or below zero (short) on/near the breakout close.
- For continuation, prefer signal‑line crosses in the direction of the zero‑line.
Pair with: ATR compression (see below) and prior day/week levels.
Indicator 4: ATR(14) — Stops, Targets & Regime
Why ATR for BTC: Volatility swings make static stops unreliable.
Rules:
- Compression filter: Enter breakouts only if ATR < SMA>before the break.
- Stop placement: Structure stop (swing/level) + 0.5–1.5× ATR buffer.
- Trailing: Chandelier‑style: highest close since entry − 1.5× ATR (longs).
- Targets: Project 1–2× base height or use ATR‑based profit bands.
Indicator 5: Bollinger Bands(20,2) — Squeeze & Mean Revert
Why BB for BTC: Detects statistical compression; in ranges, enables quick fades.
Rules:
- Squeeze breakout: BandWidth in bottom 30% of 6‑month window → trade closes outside the band with momentum confirm (RSI>50 or MACD>0 for longs).
- Range mean‑reversion (advanced): Fade edges only when trend filter is neutral and RSI diverges; use tight stops and fast exits.
Indicator 6: Anchored VWAP — Intraday Fair Value & Reclaims
Why AVWAP for BTC: Objective “who’s winning” line from a chosen anchor (swing high/low, event day, monthly open).
Rules:
- Reclaim entry: After breaking a level, price retests and reclaims AVWAP in the breakout direction → continuation signal.
- Failure filter: If price can’t hold above AVWAP after a breakout, skip continuation or consider failed‑break setups.
Indicator 7: Prior High/Low + ADR — Realistic Targets
Why: Bitcoin respects prior day/week levels; ADR keeps targets grounded.
Rules:
- Prefer breakouts that align with prior day/week high/low.
- For intraday, set TP bands using % of ADR (e.g., 0.75–1.25×) instead of arbitrary pip goals.
Putting It Together: Two BTC Playbooks
Playbook A — Base Breakout (H1) with ATR + MACD
Bias: Use 50/200 EMA. Neutral until break.
Rules:
- Identify a 10–40 bar base with ATR < SMA>
- Enter on close outside the base and MACD above/below zero in the direction of the break.
- Stop: Opposite side of base −/ + 0.5× ATR buffer.
- TP1: 1× base height; move stop to BE. TP2: 2× or trail 1.5× ATR.
- Guards: Avoid entries 15 min before major releases; confirm with AVWAP/volume if possible.
Playbook B — Trend Pullback (H4) with RSI Re‑Cross
Bias: 50 EMA > 200 EMA (longs only).
Rules:
- Wait for pullback to 20 EMA with RSI(14) 40–50.
- Enter on RSI close > 50 and price reclaim of 20 EMA.
- Stop: Below swing low − 1× ATR.
- TP1: +1.5R; TP2: trail by 1.5× ATR or exit at prior weekly high.
- Guards: Skip when ATR is extremely elevated; reduce size after extended runs.
Position Sizing & Risk (Crypto‑Aware)
- Per‑trade risk: BTC 0.5%–1.0%; reduce to 0.25%–0.5% during distribution phases.
- Perps sizing: Notional = Risk $ × Leverage ÷ Stop% (include funding & fees).
- Exposure caps: Max 3% total open risk; avoid stacking highly correlated alts with BTC longs.
- Circuit breakers: Halt at −3R day or −6R week; review before resuming.
Backtesting the Stack (No Curve‑Fit)
- Write exact rules first (entries, stops, targets, filters, sessions).
- Include fees, slippage, and funding (for perps). Breakouts slip—size smaller.
- Test across multiple regimes: bull, bear, range; include weekends.
- Use out‑of‑sample windows; prefer parameter plateaus (robustness) over sharp peaks.
- Forward test on paper/tiny size 2–6 weeks. Compare live expectancy and drawdown to backtest.
Metrics to track: Profit factor (>1.2 starter goal), expectancy (R/trade), max drawdown, time to recovery, trades/week.
Common Mistakes (And Fixes)
- Stacking too many indicators. Fix: One per bucket; remove any that don’t improve out‑of‑sample.
- Chasing wicks outside bands/levels. Fix: Require close beyond structure and prefer retests.
- Static stops in volatile regimes. Fix: Use ATR buffers and volatility‑aware trails.
- Ignoring AVWAP/VWAP reclaims. Fix: Use them as continuation/failure filters.
- No risk caps. Fix: Set per‑trade, per‑day/week, and correlation limits.
FAQs
Which indicator is “best” for BTC?
None alone. Start with 50/200 EMA + RSI or MACD + ATR and add AVWAP for intraday context.
What timeframe should I focus on?
H1–H4 for swings; M15–M30 for intraday; D1/W1 for regime and levels.
Can I automate these playbooks?
Yes. Pine/MQL/Python can encode entries, ATR stops, partials, and circuit breakers. Start with alerts → semi‑auto.
Do I need volume on BTC?
Venue‑specific volume is fine; treat it as relative. Combine with ATR/momentum and AVWAP reclaims.
Summary & Next Steps
A small, disciplined TA stack beats indicator soup. Use 50/200 EMA for regime, RSI or MACD for timing/confirmation, ATR for stops/targets, BB for compression or range edges, and AVWAP/levels to anchor execution. Backtest across regimes, forward test small, and let algorithmic trading enforce your rules.
Call to Action: Ready to analyze BTC with clarity? Give our Indicators a try at AITradingSignals.co for clean signals, AVWAP tools, and ATR‑based exits. Prefer a guided path?
Check out our courses at aitradingsignals.gumroad.com for step‑by‑step playbooks and Pine Script labs.
Compliance & Disclaimer: This educational material is not investment advice. Crypto trading involves risk, including possible loss of principal. Past performance does not guarantee future results. Use only original or licensed charts/images.